Facets & Widget: A quick guide
Category filter
Section titled “Category filter”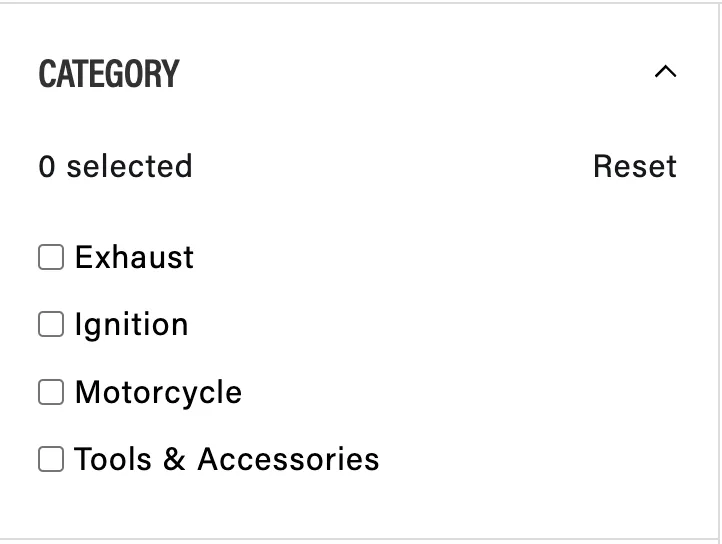
To add or edit the existing categories, please go to the Navigation menu here: https://pertronix.myshopify.com/admin/menus/199119601835
Add or edit the menu items as needed. Please avoid duplicating names.
To apply changes, save the menu and run the index update here: https://pertronix.myshopify.com/admin/apps/year-make-model-fitment-search

Brand filter
Section titled “Brand filter”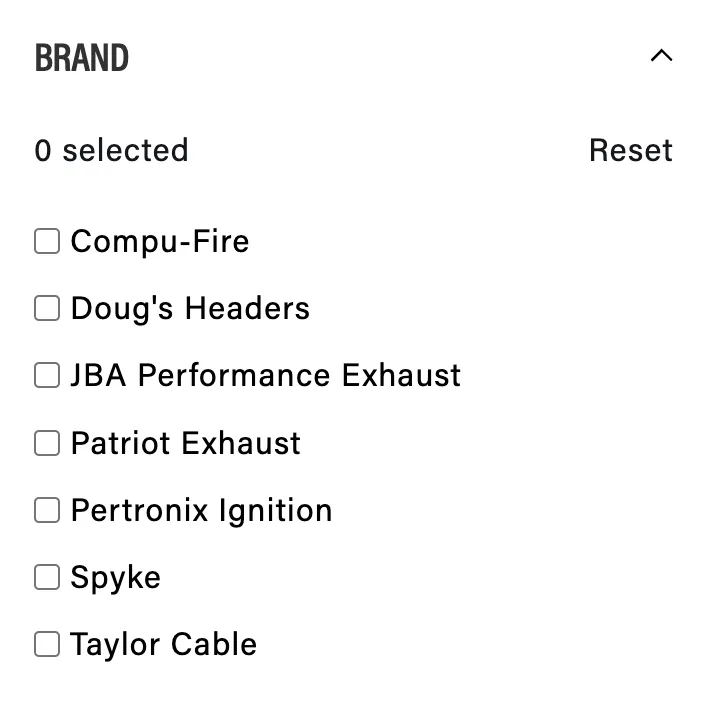
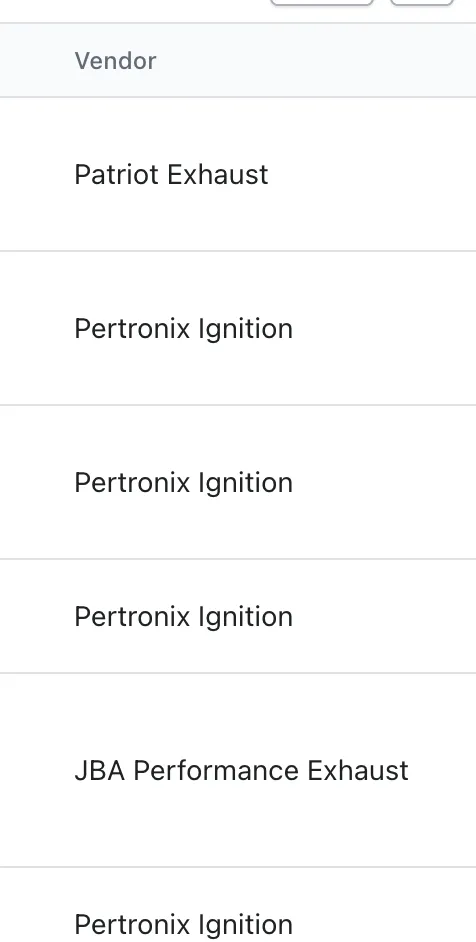
It’s working automatically and is based on the Shopify Vendor field:
Stock Filter
Section titled “Stock Filter”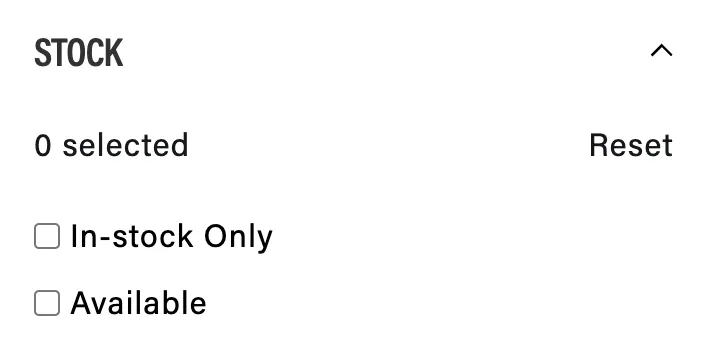
The Available option includes In-Stock products AND Special Order products.
The stock filter is based on the Inventory information:
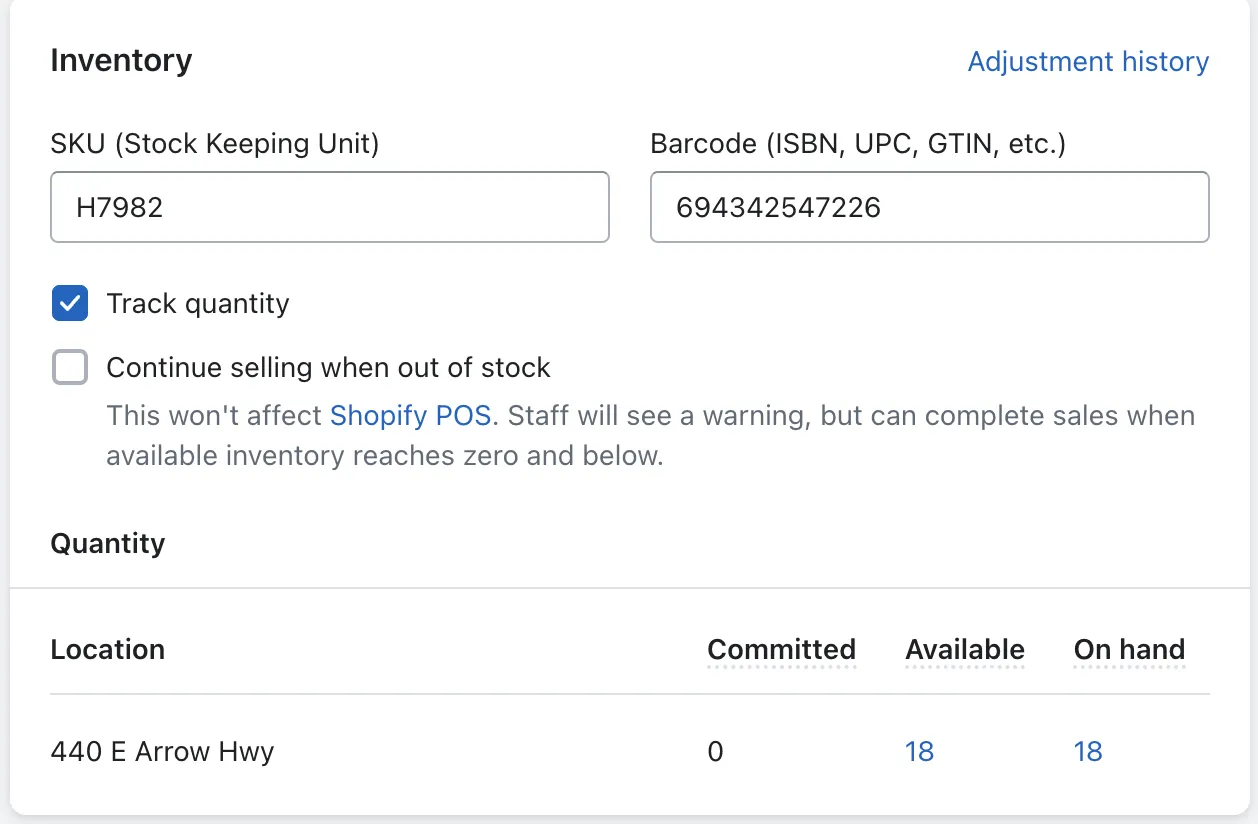
If the continue selling option is enabled, the product is considered a “Special Order” product.
Widgets Wording
Section titled “Widgets Wording”To change wording for our widgets (the YMM panel, Garage, Verify Widget, etc.), please contact us at [email protected]
Year Make Model Bar
Section titled “Year Make Model Bar”There are two ways to do it:
a) Via the theme editor:
- Go to your theme editor
- Select the “Home page” template in the dropdown at the top
- Click Add section in the panel on the left
- Select Year Make Model Bar from the list of Apps
b) Manually:
-
Go to your theme code editor
-
Select the desired template file
-
Choose the desired location of the Year Make Model Bar and paste the following code:
<div id="cm-ymm"></div>
Verify Widget
Section titled “Verify Widget”The Verify widget is added to the product pages automatically.
However, there are two ways to do it:
a) Via the theme editor:
- Go to your theme editor
- Select the “Products” template in the dropdown at the top and pick the “Default product” option
- Click Add section or Add block in the panel on the left
- Select Verify Fitment from the list of Apps
b) Manually:
-
Go to your theme code editor
-
Select the desired product template file
-
Choose the desired location of the Verify Fitment and paste the following code:
<div id="cm-verify-fitment"></div>
Adding Fitment Table
Section titled “Adding Fitment Table”There are two ways to do it:
a) Via the theme editor:
- Go to your theme editor
- Select the “Products” template in the dropdown at the top and pick the “Default product” option
- Click Add section or Add block in the panel on the left
- Select Fitment Table from the list of Apps
b) Manually:
-
Go to your theme code editor
-
Select the desired product template file
-
Choose the desired location of the Fitment Table and paste the following code:
<div id="cm-fitment-table"></div>

